Create a Geo-Fence
To create a Geo-Fence using the Alarm.com app:
- Log into the Alarm.com app.
- Tap
 .
. - Tap Places.
- Tap
 .
. - The center of the fence defaults to the system's installation address. To move the fence location, perform either of the following:
- Tap and drag the map to move the location marker.
- Enter a specific address.
- To adjust the radius, either pinch the Geo-Fence, enter the desired radius in the Adjust Radius field (in miles), or tap or
 to adjust the distance.
Note: The minimum Geo-Fence radius is 1 mile (1.6 kilometers), and the maximum is 100 miles (160 kilometers). If the account is in Canada, the minimum radius is 1.5 kilometers and the maximum is 150 kilometers. - In the Name field, enter a name for the Geo-Fence.
- Tap Save.
To create a Geo-Fence using the Alarm.com customer website:
- Log into the Alarm.com customer website.
- Click Settings.
- Click Places.
- In Manage Places, click Add a Fence.
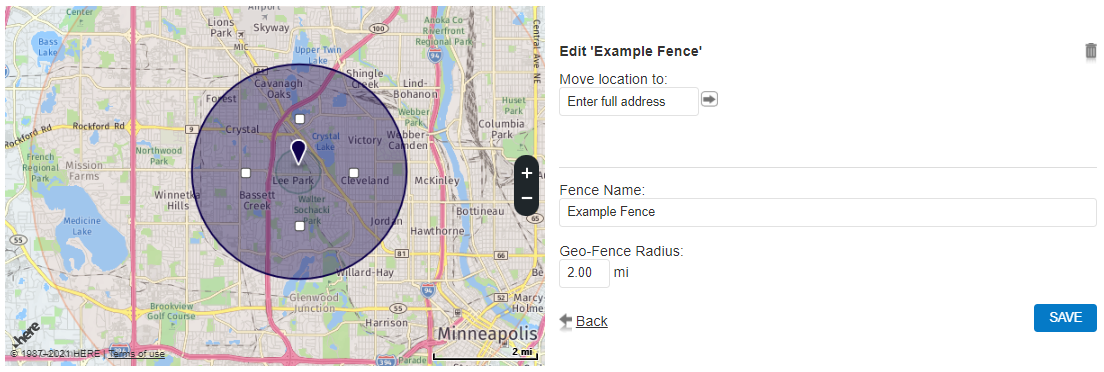
- The center of the fence defaults to the system's installation address. To move the fence location, perform either of the following:
- Click and drag the location marker on the map.
- Enter a specific address in the Move fence location to field and click
 .
.
- In the Fence Name field, enter a name for the Geo-Fence.
- To adjust the radius, either click and drag the Geo-Fence anchors on the map overlay, or enter the desired radius in the Geo-Fence Radius field (in miles).
Note: The minimum Geo-Fence radius is 1 mile (1.6 kilometers), and the maximum is 100 miles (160 kilometers). If the account is in Canada, the minimum radius is 1.5 kilometers and the maximum is 150 kilometers.
- Click Save.
 .
.